The Mustang Is At Its New Home!
And I'm already setting up to do the cowl repair
|
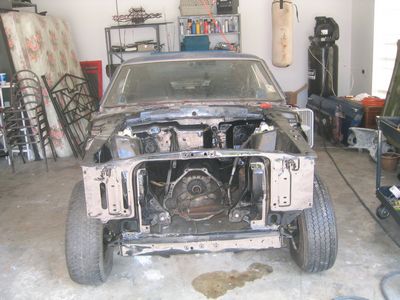
This is a pretty big change in the restoration of my classic Mustang which has gone quite slow until now. I've managed to finally move the car from my father's crowded and far too busy garage to my own recently setup shop at my home in Baton Rouge. So I've taken some pictures and some video of my Classic Mustang that I'll be putting up here and on my video blog.
Step 1: Cowl Repair As with all Classic Mustangs and probably most classic cars the cowl vent has rusted out on one side of my car due to the way it held water. So I'm having to replace that. As soon as I got my car rolled into my garage I started tearing out the dash and evaluating how I'm going to go about getting to it. If you look online you'll find dozens of articles on how people repaired their cowls since its one of the most irritating and common jobs that are done.(step by step cowl vent repair with pictures) In my case only the passenger of the cowl is damaged with the drivers side being very sturdy so instead of the typical take off the entire cover I'll be doing a "can opener" approach on just one side as seen here or repairing it from underneath if at all possible. I've treated area well with rust treatment and preventer. Step 2: Floor Patch Panels Of course you can't have a Mustang without rusted out floor panels! So I'll be replacing the floor panels following the cowl repairs. As you can see I had some patches in there when I was in high school. For a long while I would drive around with just the carpet between me and the road. Boy was I dumb as a kid! -Jerry Odom, August 2006 |
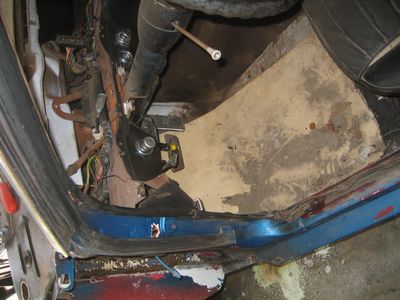
Underneath View of Drivers Cowl. No Damage
Drivers Side Floor Panel to be replaced with reproduction
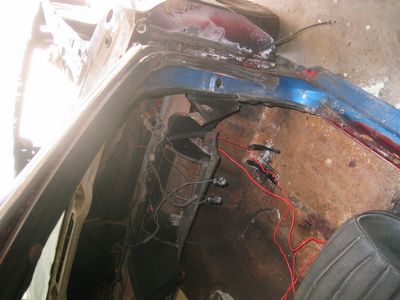
Passenger Side Cowl Vent: Notice Rust
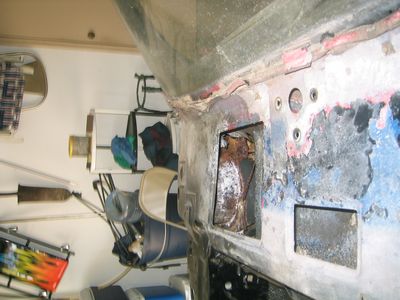
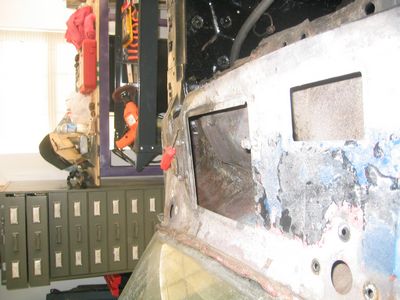
Inside View of Rusted Cowl Vent
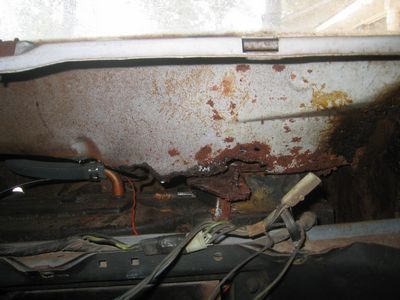
Passenger Side Floor Panel Rusted.